

Choosing kitchen cabinets might sound fun, picking colors, finishes, and hardware. But diving in without preparation often leads to mistakes, delays, surprises, and wasted money. A stunning cabinet look means nothing if it doesn’t work in your space.
Rather than beginning with the style, start with what matters first: today’s lifestyle, accurate measurements, and must-have features. With that sorted, you can shop with clarity, knowing that what you pick will fit and function.
Here are the first three key steps we recommend before shopping for cabinets:
1. Map Your Kitchen Workflow
Understand Daily Habits
Before you focus on looks, look at your life. Do you prep dinner in the morning? Do kids school lunch on the island? Do you bake weekly or prepare elaborate meals? These habits define how the kitchen should work.
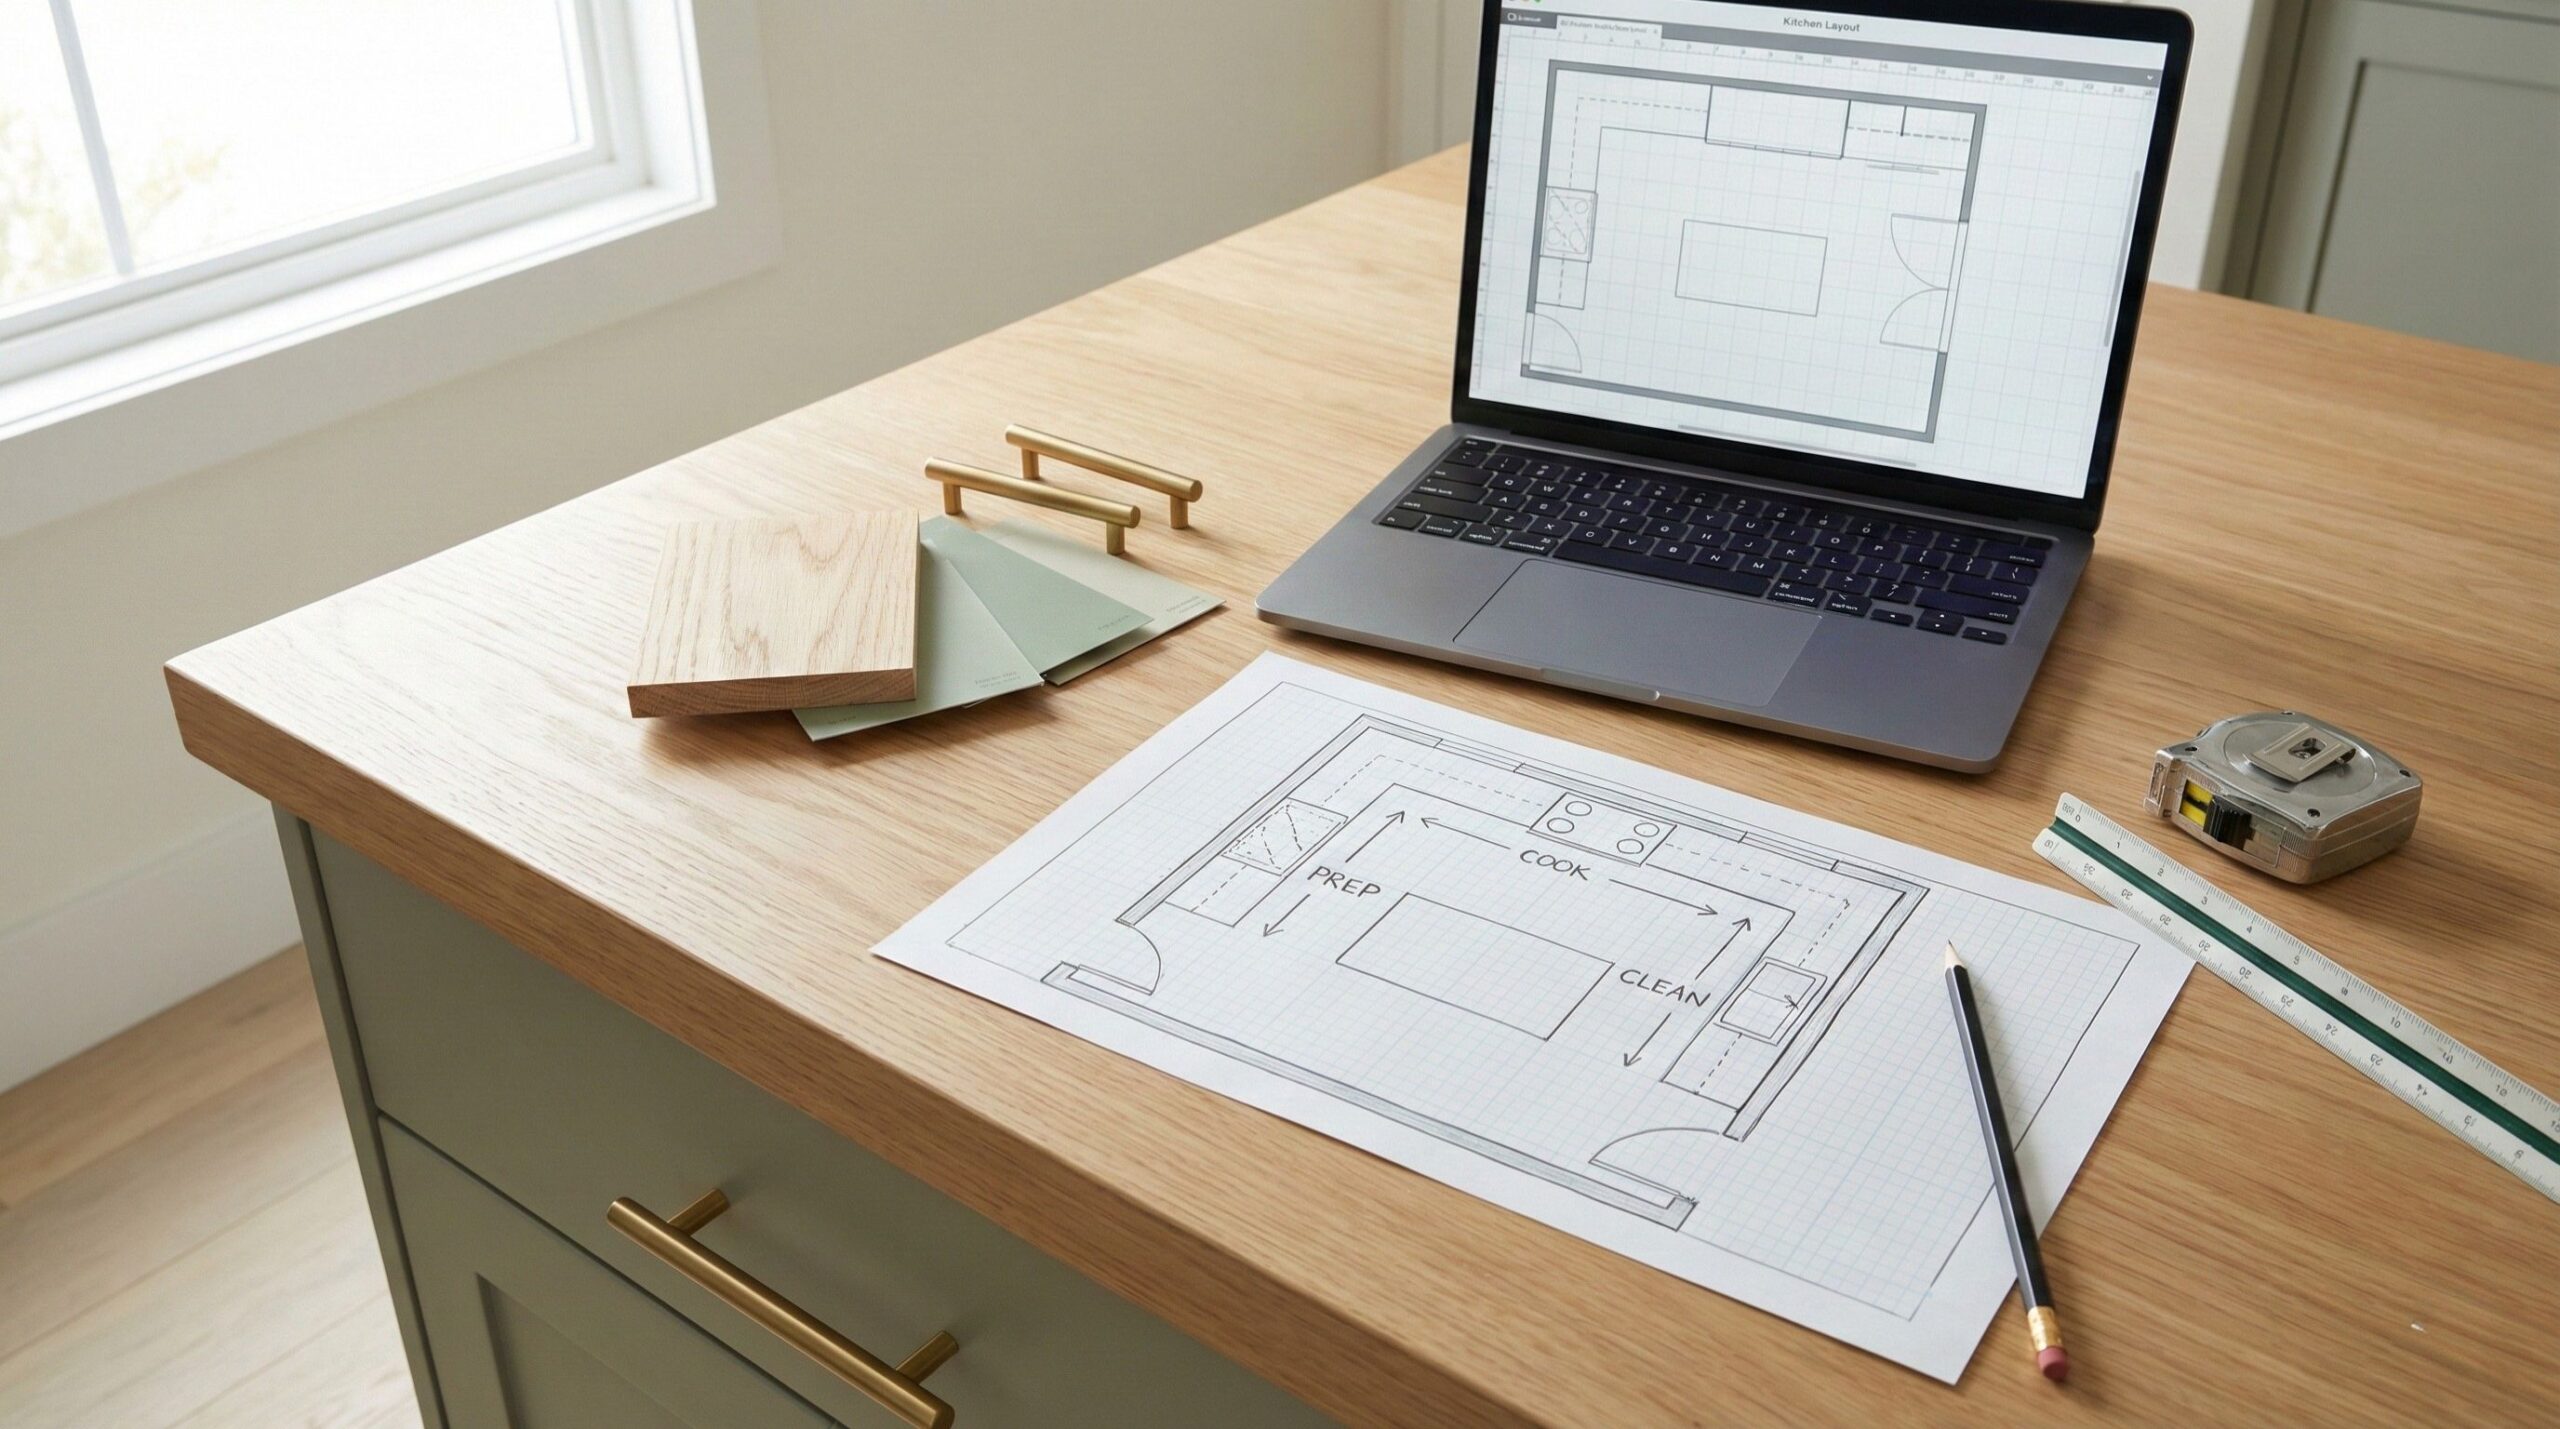
Identify the Three Main Zones
- Prep zone: Where chopping and mixing happen, typically near countertop space.
- Cook zone: Stovetop, oven, and tools for cooking.
- Clean zone: Sinks, dishwasher, drying areas.
These three zones form the classic “work triangle,” reducing steps and ensuring functional flow.
Sketch Your Routine
Draw arrows or paths connecting zones, showing how you move through kitchen tasks. Make sure cabinet location supports that flow. For example, drawers near prep space, cleaning supplies beside the sink, etc.
This step ensures your final cabinet layout supports your daily life, not just looks pretty in photos.
2. Measure Thoroughly Before You Buy
Essential Measurements
- Wall lengths: Know each side, measure twice to avoid errors.
- Corners & recesses: Include thresholds or beams that affect cabinet placement.
- Windows and doorways: Their positions directly influence cabinet runs.
- Ceiling height: Tall cabinets can hit ceilings or soffits if you don’t measure.
Appliance Considerations
- Fridge depth and swing
- Oven and microwave clearances
- Range hood venting
- Dishwasher door opening space
- Any appliance “garage” or built-in feature
Visualize Cabinet Fit
Plot measurements on a drawn floor plan, use graph paper or digital tools. Annotate appliance specs and include swing spaces. This ensures enough clearance and avoids future surprises, like a cabinet blocking your fridge door because you forgot to include clearance for its hinges.
3. Set Your Non-Negotiables Early
Know What You Can’t Live Without
Before color or style, get clear on features you actually need:
- Trash pull-out beside sink?
- Full-height pantry space?
- LED under-cabinet lighting built-in?
- Dishwasher-height drawers for heavy items?
Knowing what you need helps you avoid choosing a layout that’s flawed aesthetically.
Prioritize Them
Rank your must-haves, “essential,” “nice to have,” “optional.” This hierarchy guides your cabinet project and helps balance functionality with design.
Consider Access & Safety
Think about children, aging in place, or who else uses the kitchen. Features like pull-down uppers or lower math drawers might matter more than aesthetics alone.
Why These Steps Matter
Avoid Costly Mistakes
- Cabinets too wide for door clearance?
- No storage solution for tall items?
- Pantries that block your prep zone?
Skipping prep forces you into rushed decisions mid-project, often costlier than planning would’ve been.
Keep Design Cohesive
By mapping function and measurements first, you avoid mismatch between function and form. Your selections (doors, finish, layout) will fit both physically and visually.
Save Time and Stress
Clarity early on means fewer late changes or purchase errors. You’ll end up with cabinets that look amazing, and actually serve your routines.
Putting It All Together: A Step-by-Step Guide
- Draw your current layout (or download digital tools)
- Map out traffic lines and workflow arrows
- Label appliance locations + necessary clearance distances
- Write down must-have features with locations
- Validate on paper, does it feel natural?
- Update layout rough draft, allowing for at least 42″ aisles
- Start cabinet shopping: filter choices based on layout and non-negotiables
- Bring selections to your kitchen plan for a final check
Real Scenarios: Avoiding Common Pitfalls
The Blind Island Mistake
A family designed a kitchen with an island without thinking about door swing from the fridge. Once the fridge door opened, no one could walk around the island. They had to shift the island, wasting money and time.
The Pantry That Didn’t Fit
A couple picked a beautiful full-height pantry but didn’t check ceiling height. The cabinetries hit the soffit, and the pantry couldn’t fully open. They had to settle for shallow roll-outs, at their own expense.
Lacking Trash Access
A functional non-negotiable: hidden waste sorting. Without planning it early, it never fit near the prep zone. They ended up with an external trash bin right in the work triangle, disrupting cooking flow.
After the Foundation, Style Comes Next
Once you’ve got workflow, measurements, and must-haves locked in, you can confidently choose:
- Door style (shaker, slab, inset)
- Finishes (painted, stained, wood grain)
- Hardware (pulls, knobs, finishes)
- Lighting and backsplash
At this point, your style choices are grounded in a kitchen that already works. That means good looks and function.