

No home is perfectly square, especially older properties. Even small irregularities like a half-inch slope in the floor or a bowed wall can dramatically impact cabinet installation. If these issues aren’t addressed, you’ll end up with doors that don’t close, noticeable gaps, and unsightly finishes.
At Haven & Oak, we believe in “building fit, not forcing fit.” That means measuring meticulously, designing intelligently, and installing thoughtfully, so your cabinets look flawless, even when your room doesn’t.
Why Uneven Surfaces Matter in Cabinet Installations
Floor Slope
Even a modest half-inch drop over a few feet makes cabinet tops uneven, resulting in misaligned countertops, doors that swing open, and structural instability over time.
Bowed Walls
Rooms built without precision may feature bowed, round, or bulging walls. Standard cabinets installed flush against these surfaces result in gaps, uneven flushes, and poor visual lines.
Domino Effects
Ignored irregularities cause misaligned cabinetry, hardware issues, grout lines that skew, and trim that looks crooked, making a functional project appear amateurish.
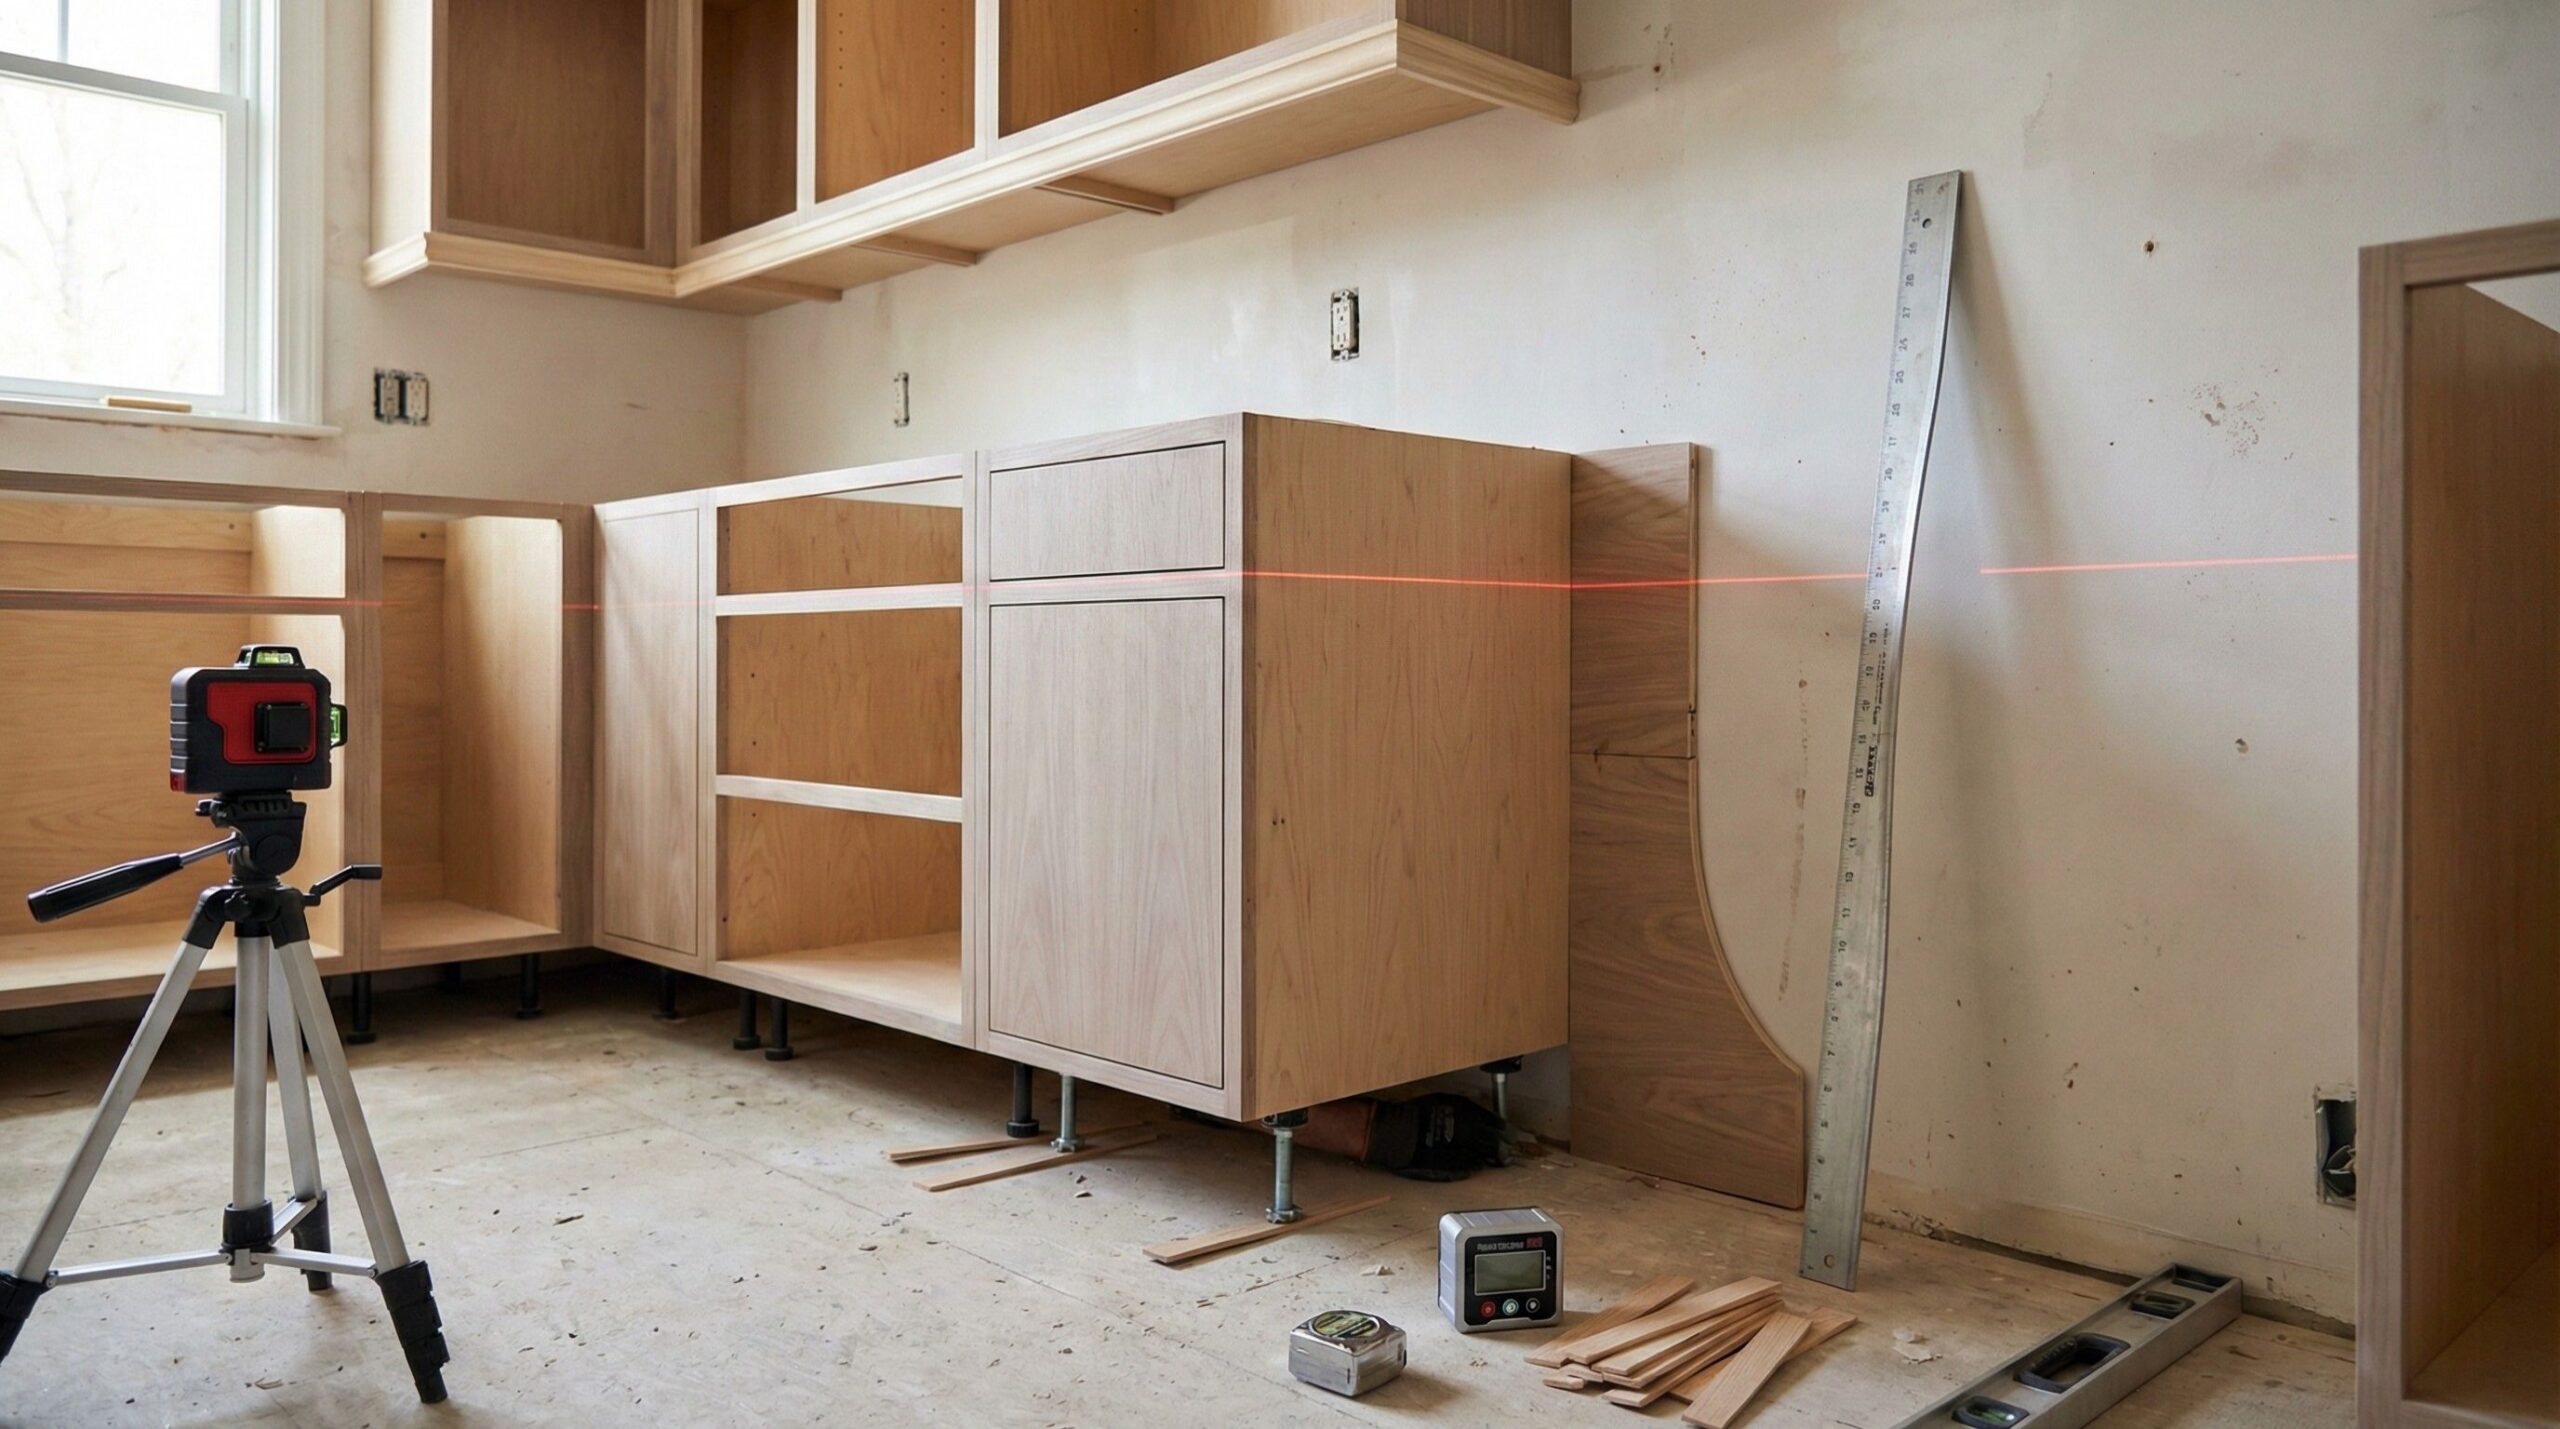
Measure Everything On-Site, Before Ordering
Successful installation starts long before cabinets arrive, on-site measurement prevents costly mistakes.
Tools We Use
- Laser levels and digital inclinometers
- Long straightedges (8–12 feet)
- Metal tape measures and plumb bobs
Measurement Process
- Floor Levels
- Measure slope from corner to corner and along wall runs
- Note high and low points at intervals (every 2–3 feet)
- Wall Out-of-Plumb
- Use straightedge to detect bows or bulges
- Plot measurements every few feet vertically
- Ceiling Height Variation
- Especially important for tall or full-height cabinets
- Window/Door Heights and Offsets
- Check if windows are tilted or trim is uneven
We document everything, plan elevations, floor slope lines, bow curves, and ceiling deviations.
Design Solutions for Uneven Conditions
Our installation success lies in proactive solutions built into the plan.
1. Adjustable Cabinet Legs
Every base cabinet comes with adjustable legs (¼ to 1″ range). These allow precise leveling on sloped floors. Each cabinet can be independently leveled for a seamless countertop edge.
2. Integrated Fillers & Scribe Molding
On bowed walls, we design with:
- Adjustable filler panels that shift to fill gaps
- Custom scribing on trim pieces that conform to the wall’s curve
- Oversized crown and base moldings to hide small imperfections
3. Shims & Back Support
Shims behind cabinets help plumb walls before anchoring, offering a clean altar without built-up fronts.
4. Site-Fit Countertops
Templates are taken after cabinets are leveled, ensuring countertops are cut precisely to curve with the wall.
Installation Process: Step by Step
- Confirm slope and plumb diagrams with installers
- Dry-fit base cabinets, installing adjustable legs and initial fillers
- Adjust floors and cabinets, ensuring tops align and aisles remain consistent
- Install uppers, using continuous lines and trim to mask inconsistencies
- Attach crown molding, trim, and scribed fillers
- Caulk and finish details, closing any small gaps and creating a polished result
This process ensures a high-end aesthetic even in imperfect rooms.
Real-Life Examples
A Craftsman with a Bowed Wall
The home’s 100-year-old kitchen featured a wall bowed by ¾″. By installing scribed filler panels with custom molding, the cabinets appear seamlessly straight from the room’s vantage point.
Sloped-Ranch Kitchen
A rural home’s floor dropped ½″ from front to back. Adjustable legs solved the unevenness, and full-height cabinet panels concealed any variance.
Vintage Cottage with Arched Window
Installers overcame the window’s curved sill by trimming upper cabinets with moulding scribed to match the arch, maintaining symmetry.
Why Precision Planning Saves Time & Money
| Benefit | Result |
| Prevents rework | Avoids costly redesign or replacement |
| Streamlines scheduling | Less installation time and fewer callbacks |
| Enhances craftsmanship | Final result is polished, professional finish |
| Preserves structural integrity | Cabinets won’t warp or shift over time |
How to Prepare Before You Order Cabinets
- Schedule a thorough site measurement, don’t rely on builder estimates alone
- Review slope/plumb reports with manufacturer, allow design adjustments
- Ensure cabinets include foot kits, fillers, and molding
- Collaborate on scribing, shims, and mix kit accuracy
- Verify installer experience with uneven structures
- Confirm countertop templates occur after base leveling
These steps prevent surprises and smooth the entire process.
Style & Finish Planning Comes After Fit
Once cabinets are level and flush, style choices for doors, finishes, and hardware are easy, they won’t conflict with issues arising from uneven surfaces. From bold finishes to sophisticated trim, your cabinet style then becomes the deeper layer of a meticulously built foundation.